
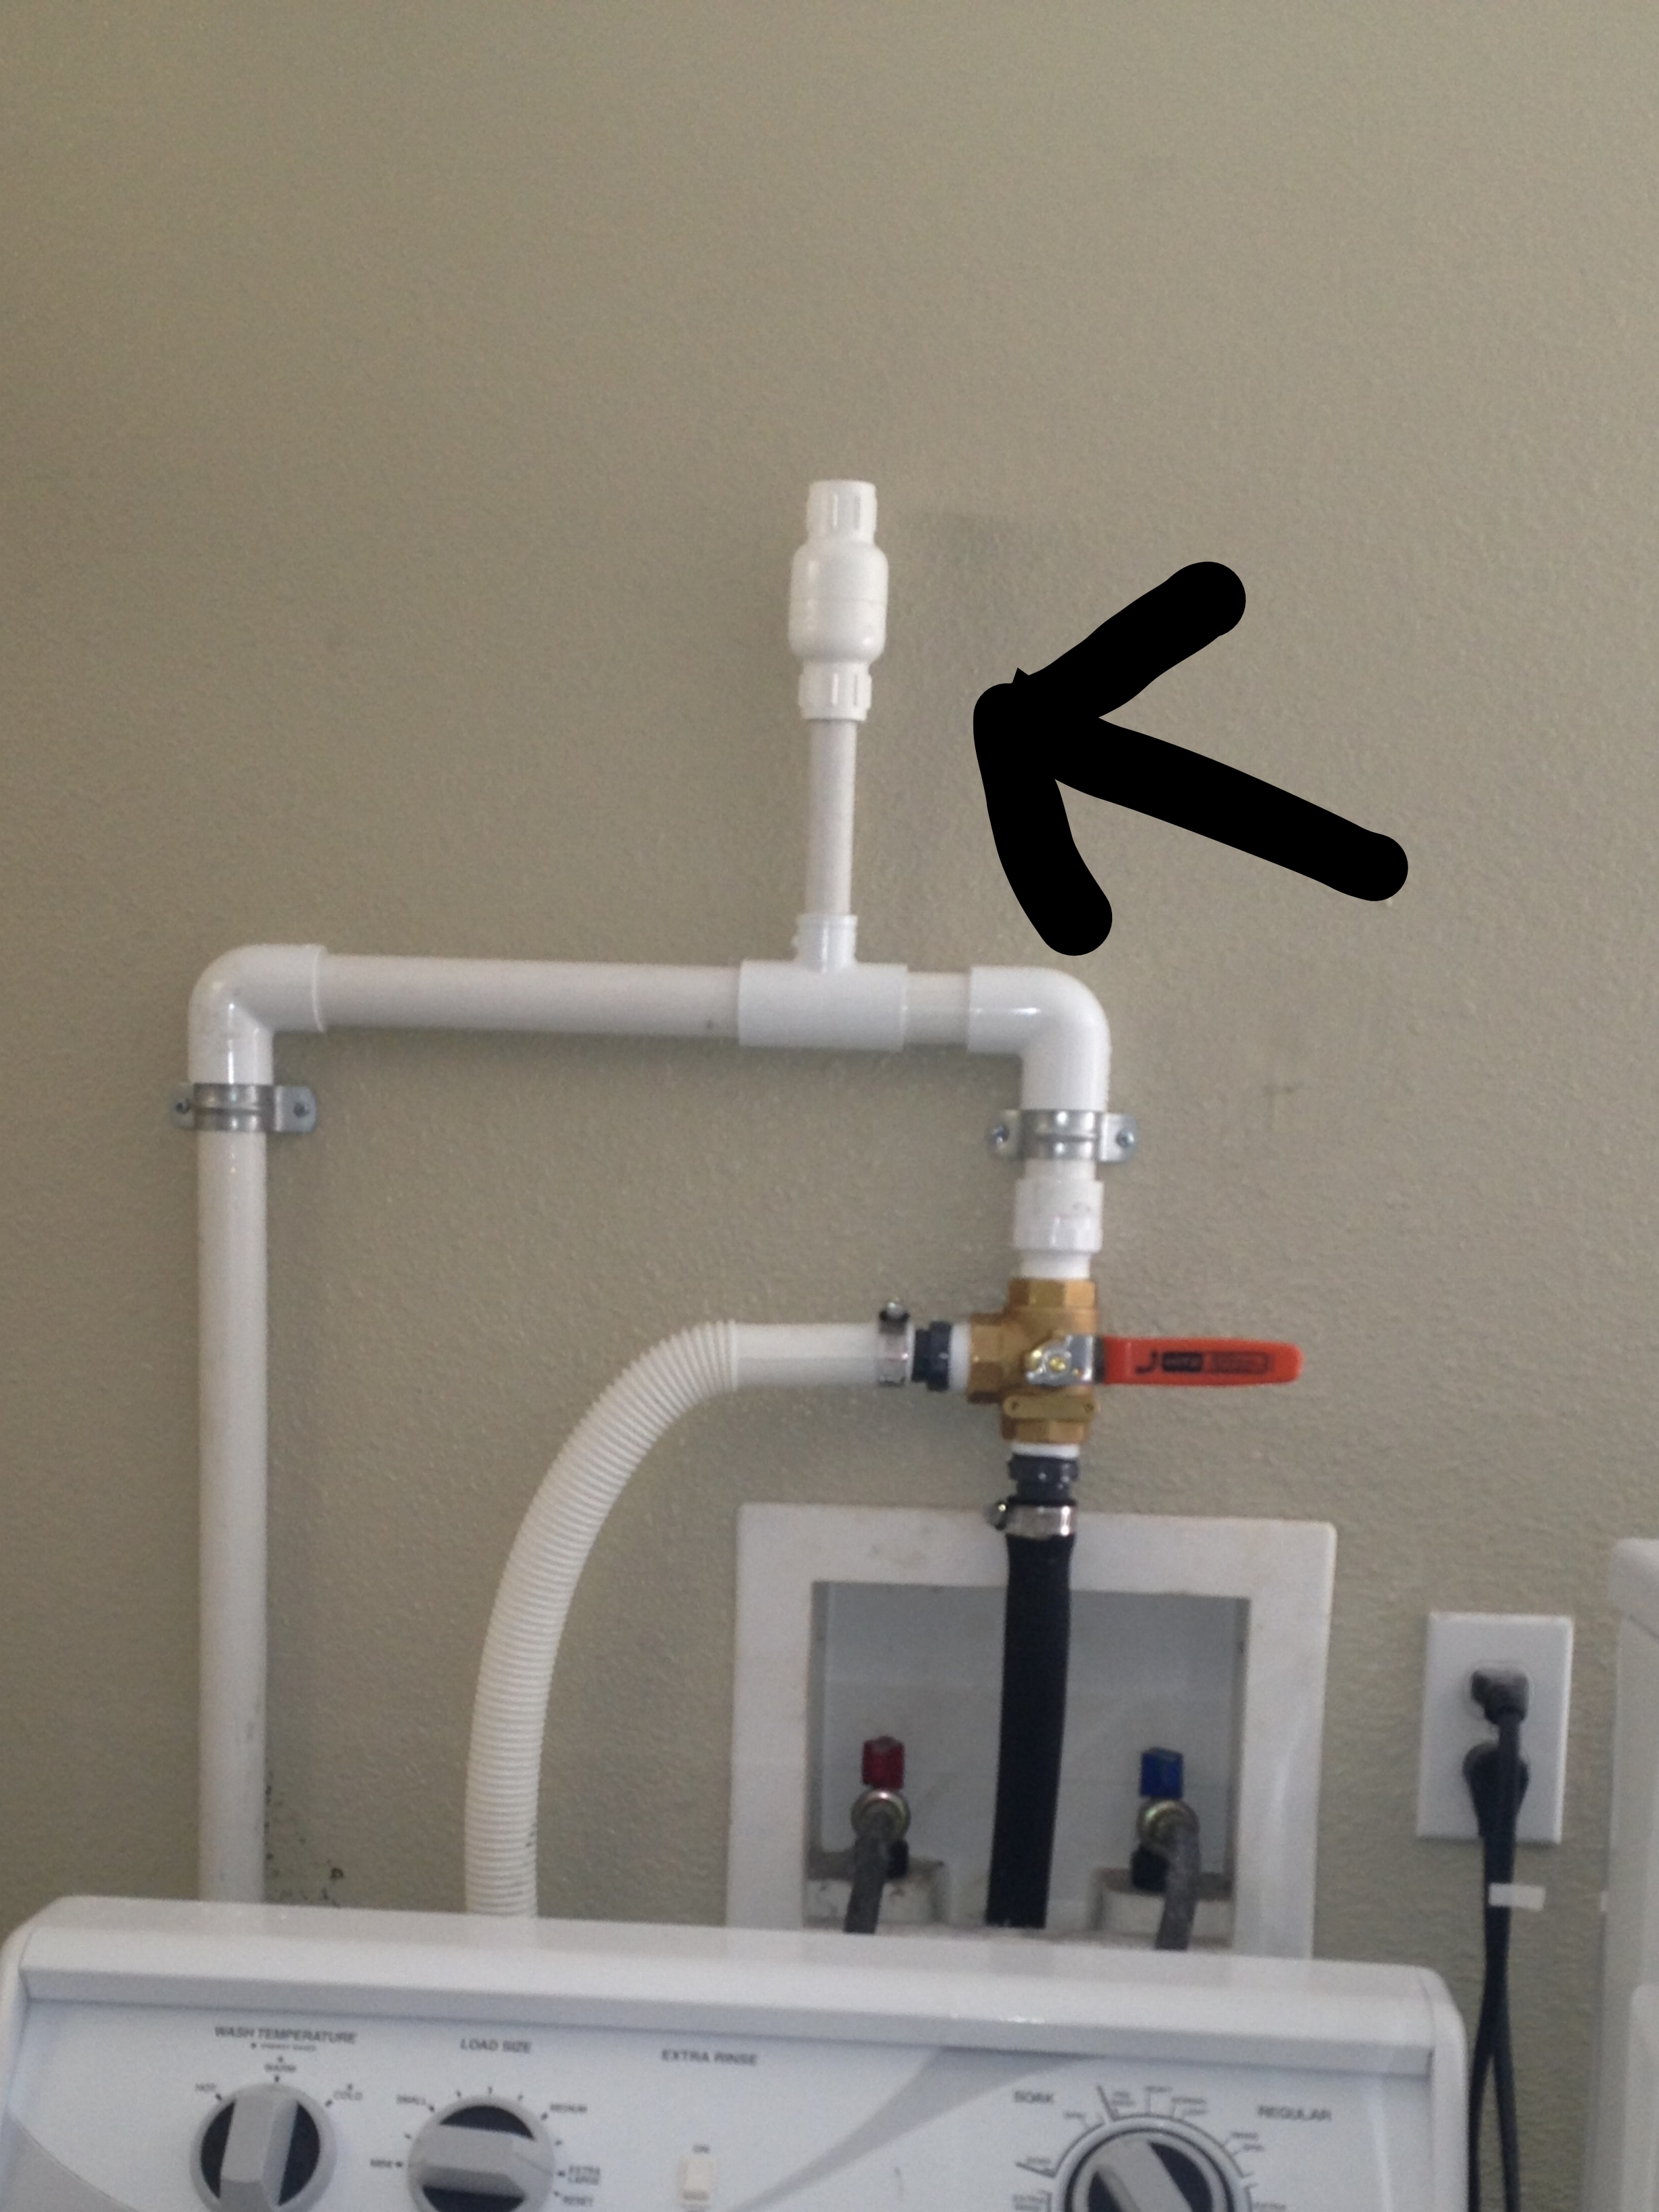
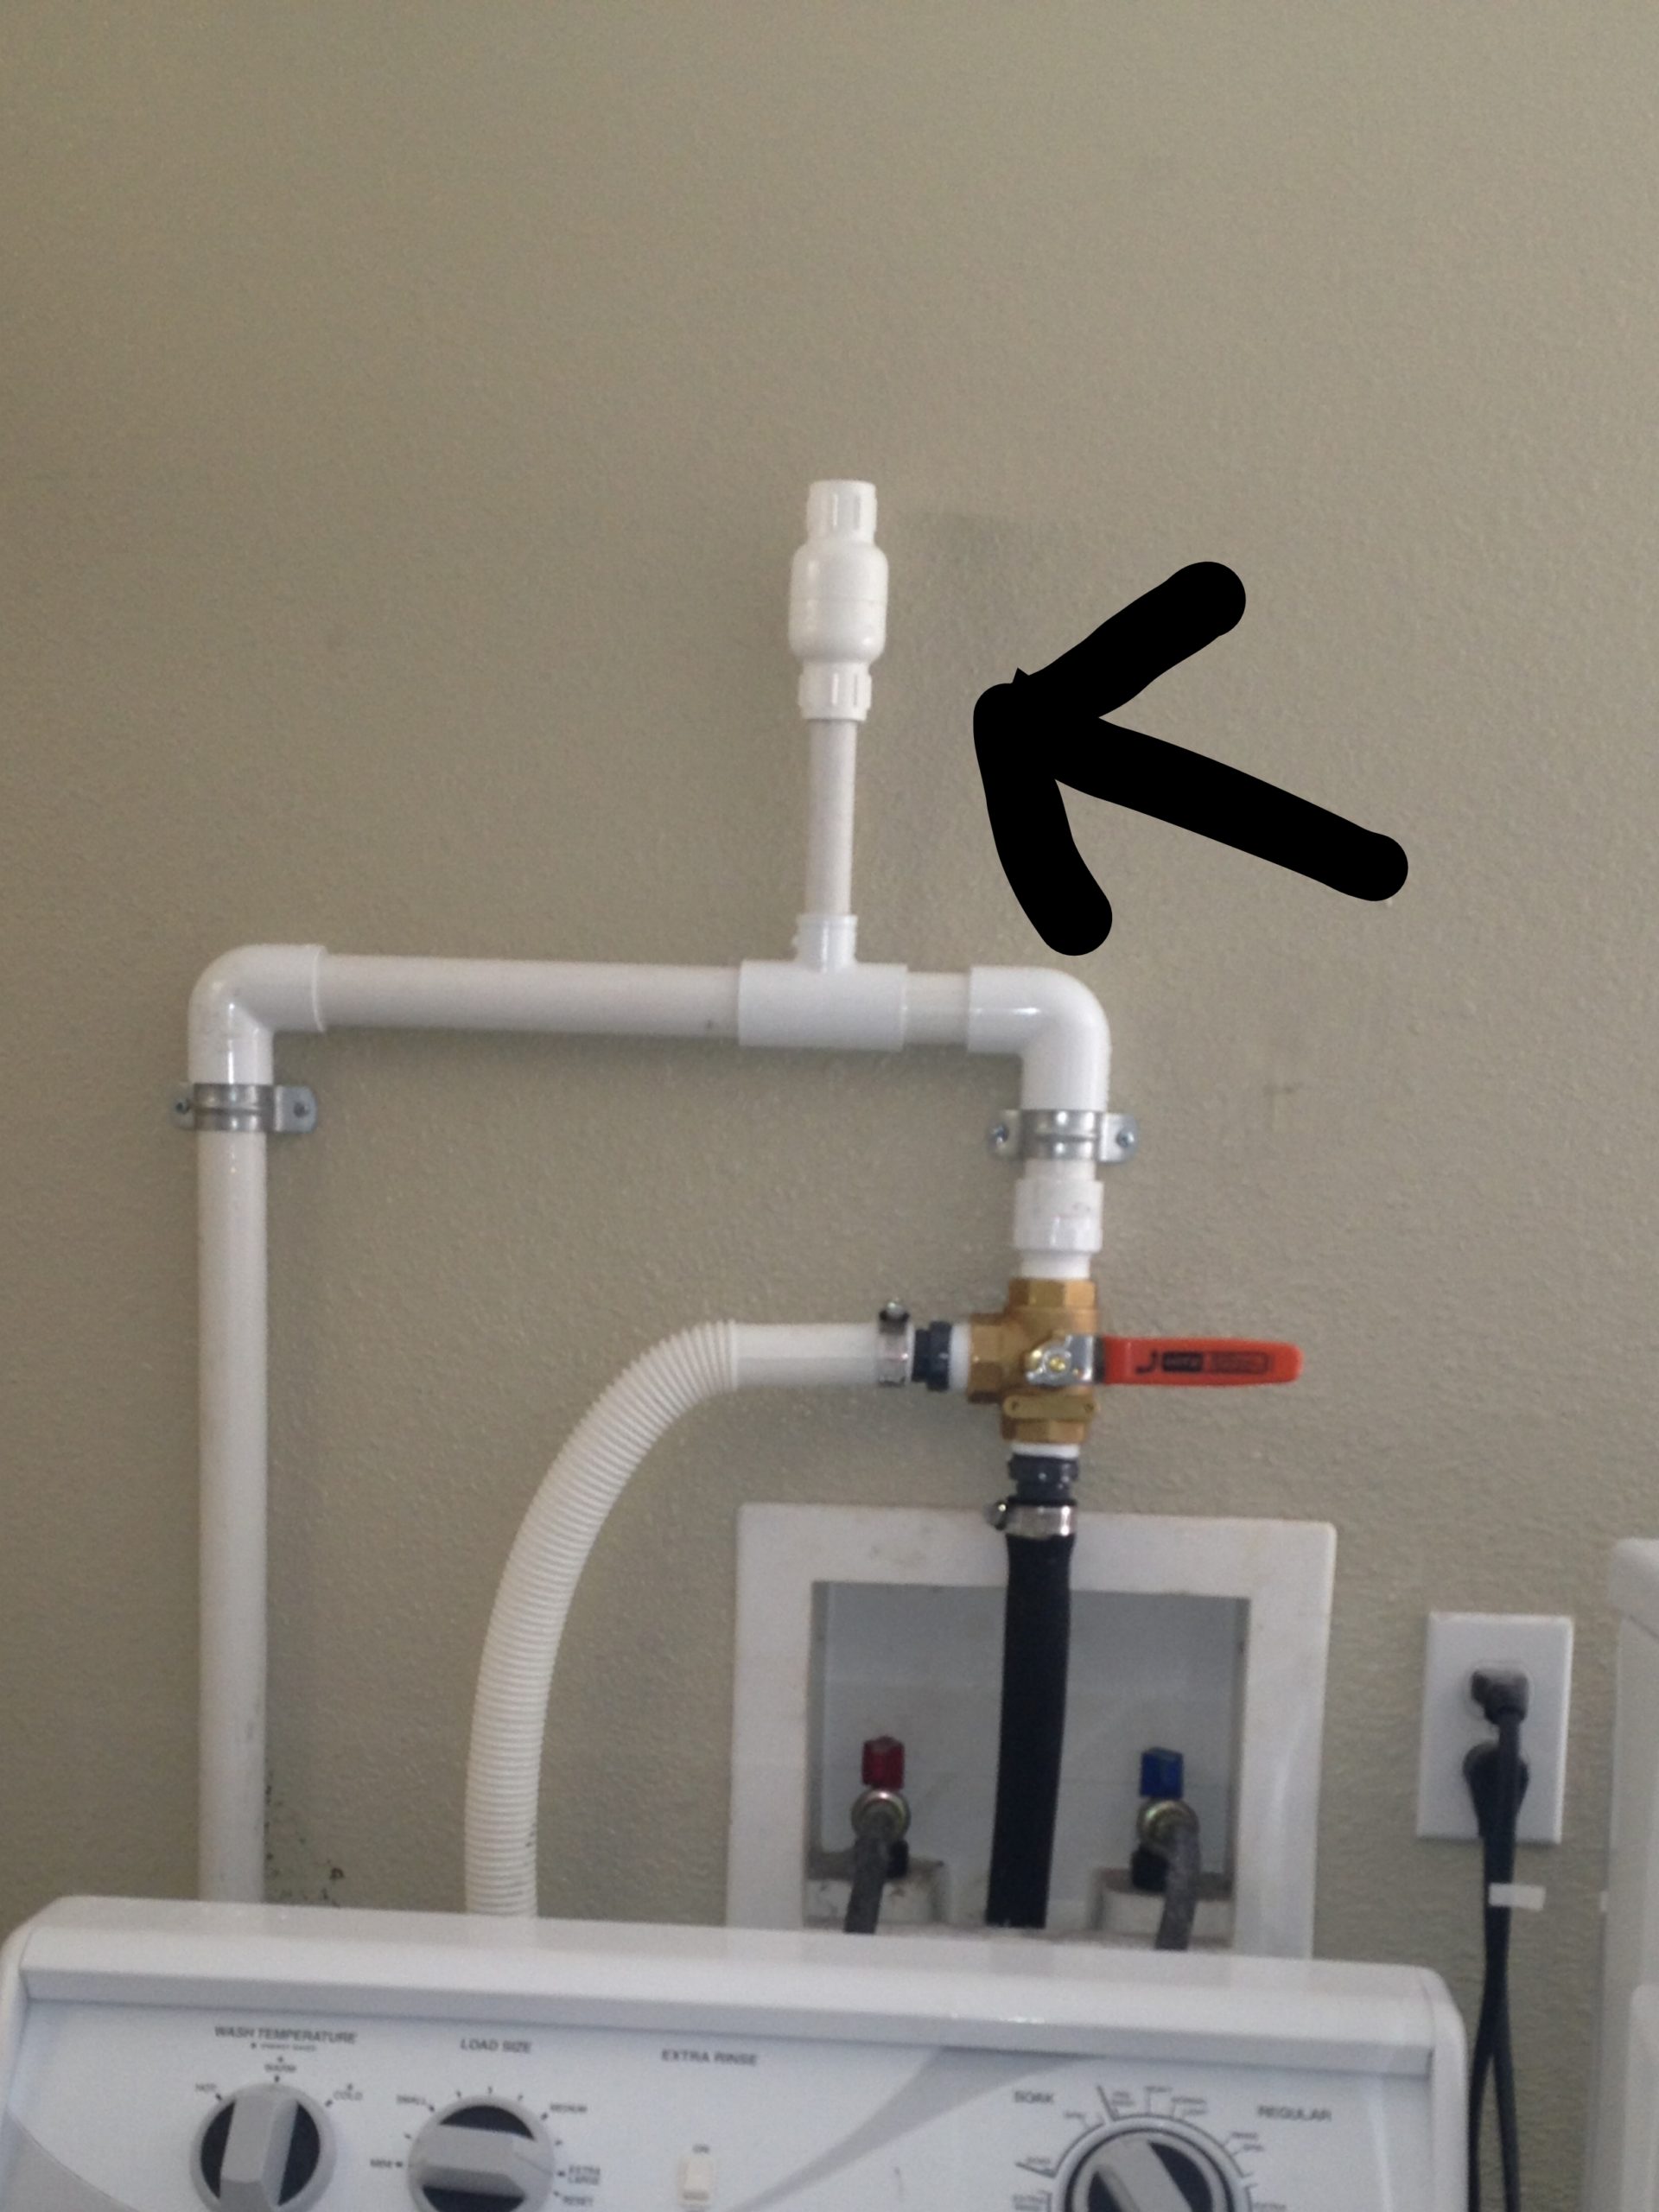
We install vacuum breaks, airgap, autovent on most Laundry-to-Landscape systems. Fortunately this is a part that rarely fails and is easy to fix. Unfortunately, if it does fail, it is often very inconvenient. Since it is located near the washing machine often, having water spill in this location can be a problem.
Art Ludwig from Oasis Design breaks down what the purpose of this vent is here:
“If the first outlet is lower than the level of water in the washer, a vacuum breaker is advised to keep the drain line from continuously siphoning water out of the machine as it tries to refill itself (not a problem with every machine or load, but …easier to just add it). The loose fit of the washing machine drain hose into the standpipe in conventional plumbing creates an air gap, which serves as a vacuum breaker. The vacuum breaker must connect to the main line at its high point to be effective. This is typically close to the washer, just outside the house. If the line must dip down before leaving the house, it could siphon even with a vacuum breaker outside. In this case, mount the vacuum breaker inside. To avoid the possibility of spillage indoors, you can route a ½” tube from the top of the vacuum breaker outlet back into the septic/sewer drain standpipe (spills are rare from an auto vent).
If you’re irrigating uphill and the first outlet is above the top of the washer, it will serve as
the vacuum breaker.”
Here are two examples of what we typically install with the picture on the right being most common recently. Both are readily available at Home Depot.
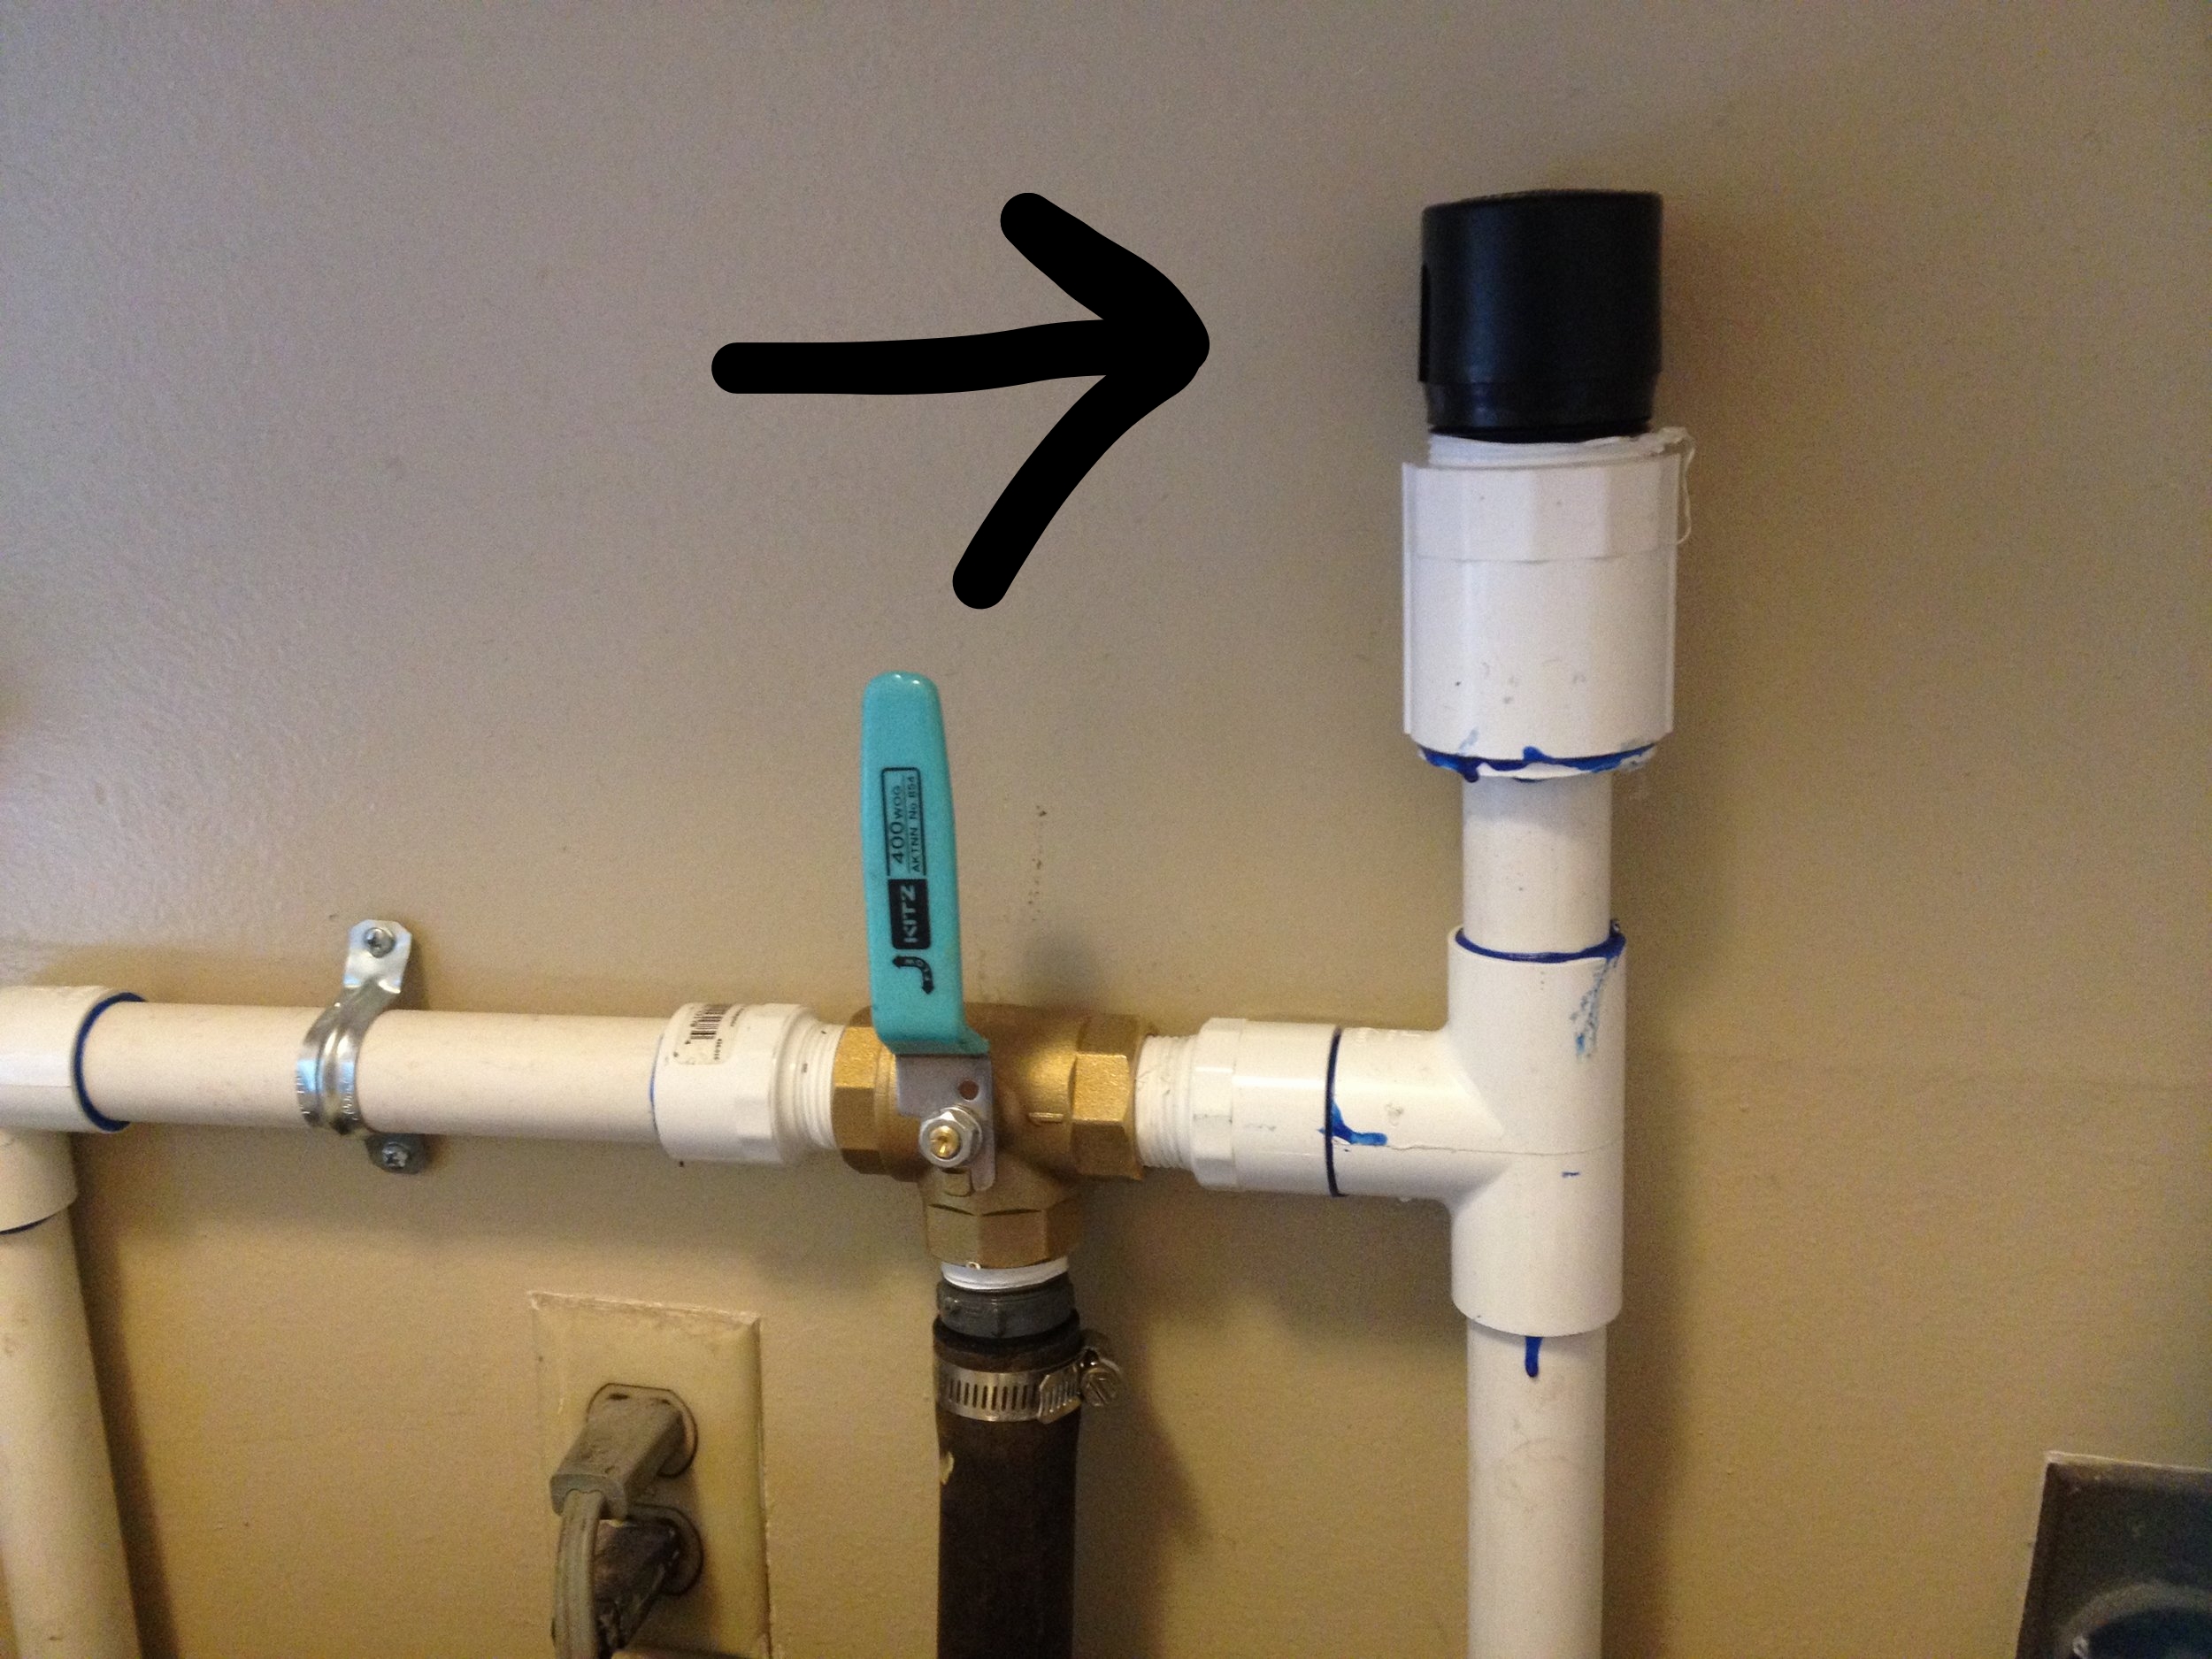

I have had one of each of these, above, fail in the last 8 years (out of more than 200 systems installed by H2OME or overseen by H2OME through a workshop or DIY guidance). The picture on the left shows a 1/2″ spring check valve. We use half inch to save on cost, there’s no need to have a larger airgap than this. One of these failed within the first year of installation. We installed dozens more of these with no failures reported. To replace this piece, simply cut the 1/2″ line directly under the check valve and glue a new one on the remaining 1/2″ stub, with the flow arrow pointing down to allow air in, but not water out.
We have transitioned to installing the studor vent on the right in all cases. Mainly, it is less bulky PVC (less costly as well) and replacement is a simple matter of unscrewing the fitting, retaping the threads and screwing in the new fitting. I recently have seen my first failure on one of these, after about 3 years of use. Fortunately it was installed outside, so the water spilled outside. Once I inspected the part, I found that the diaphragm inside had fallen out. It may have been easy to put it back together, but now that it failed, I don’t trust it to operate with integrity.
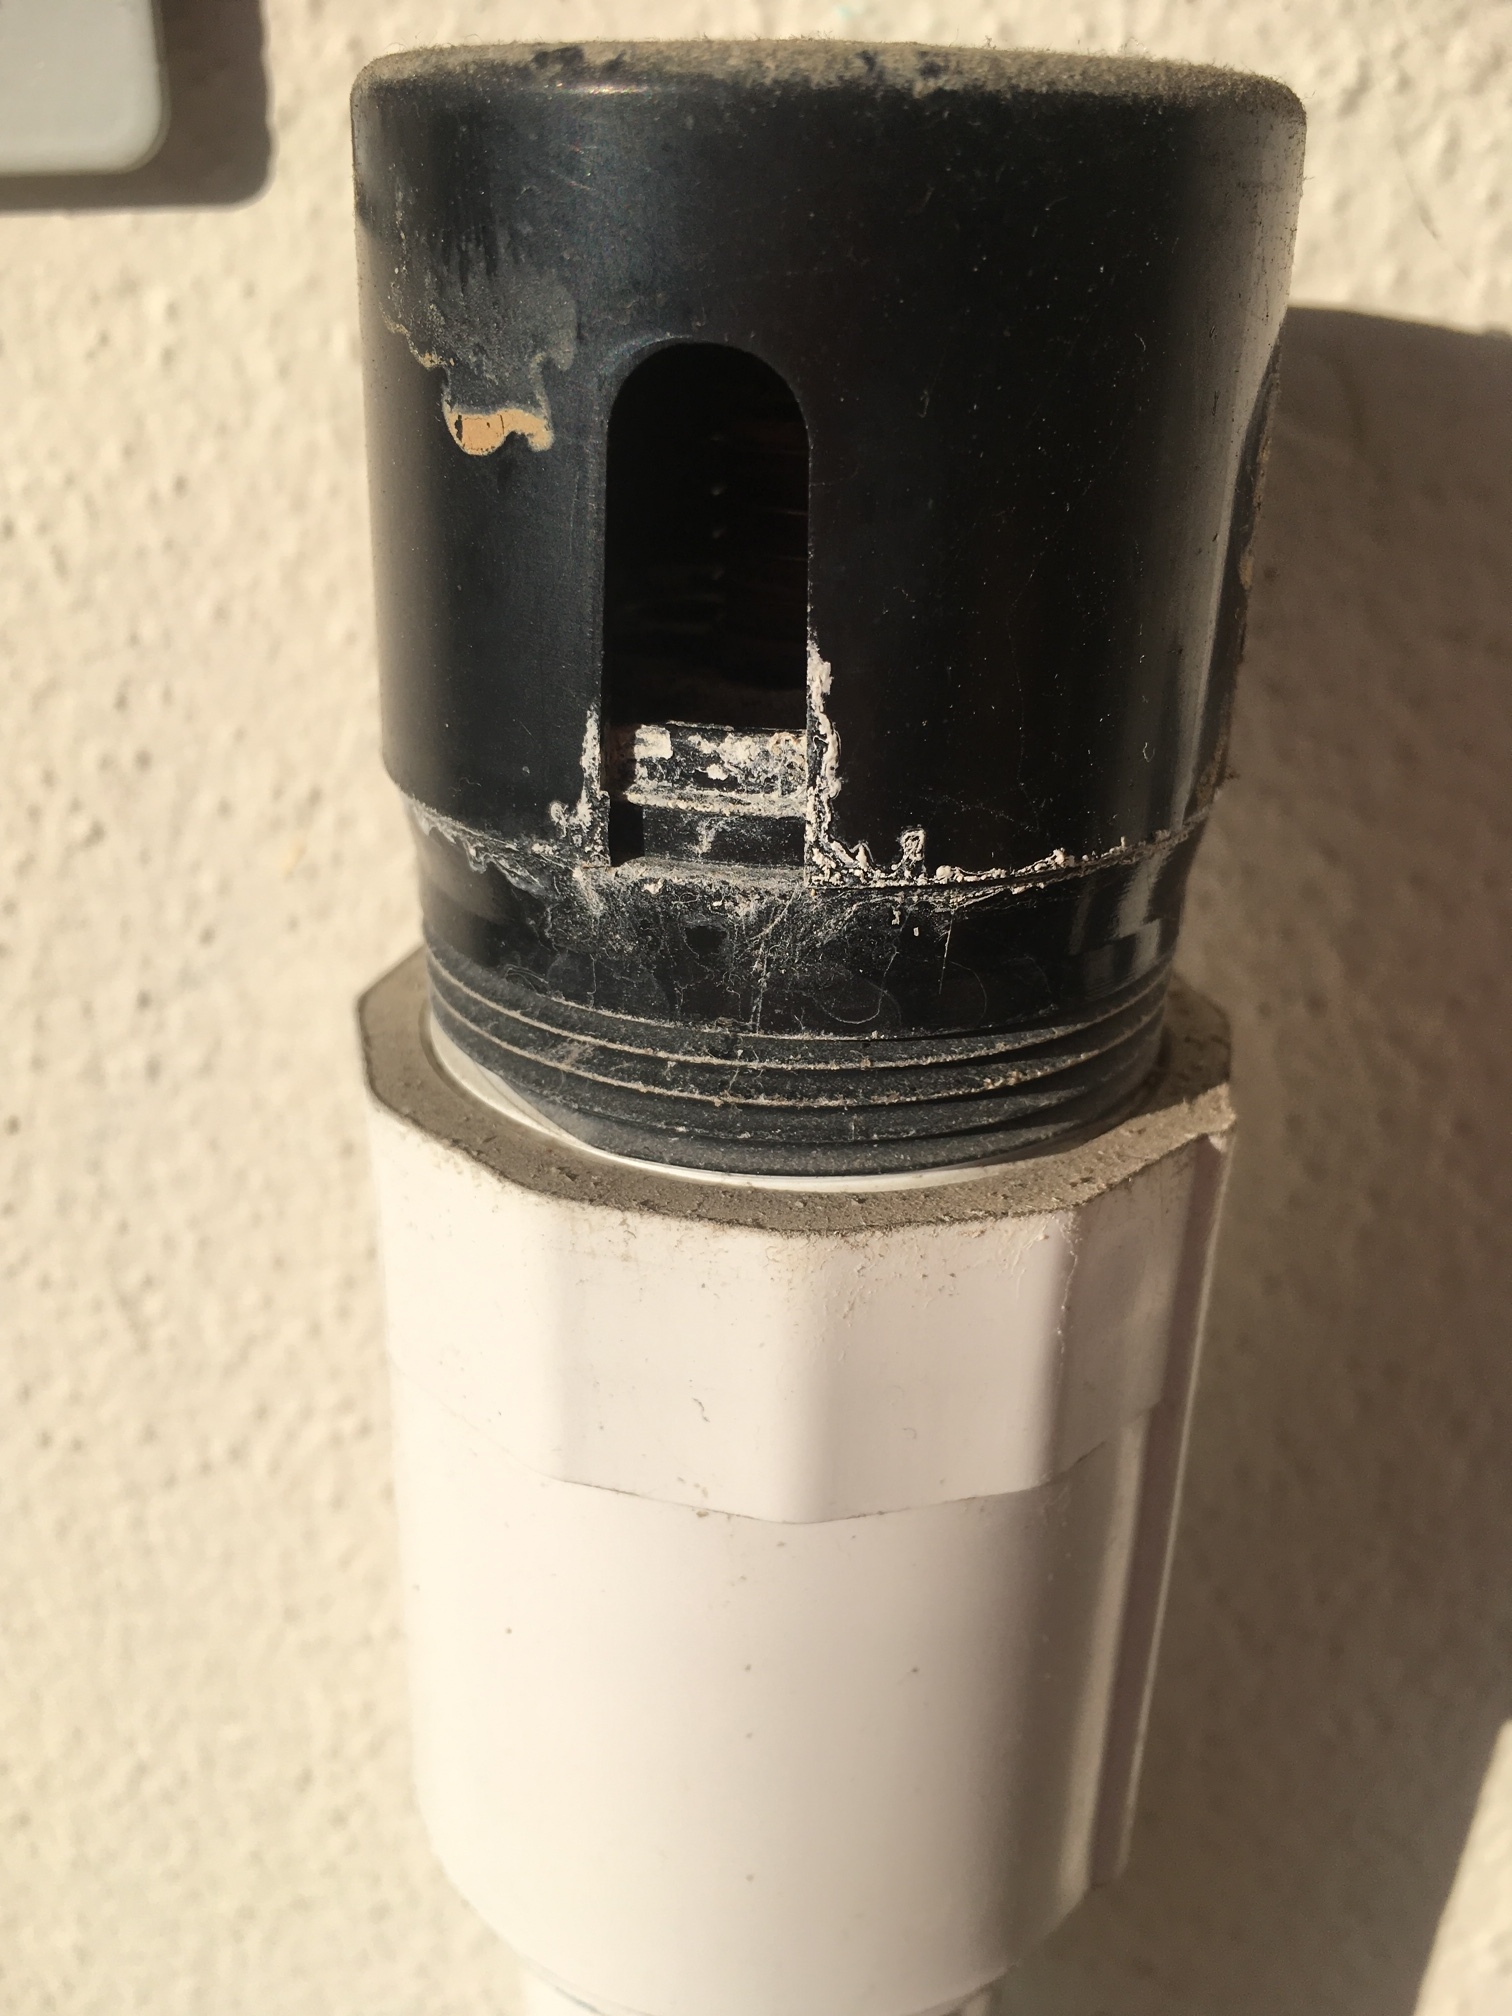

This vent recently failed. Easy to replace by unscrewing it and screwing a new one back in place.